
How to keep your existing trim, and add Board + Batten the easy way!
If you’ve been following along with our Instagram stories you know all about the updates we’ve been working on in our foyer! Our new foyer is a great space, it’s extra wide, has 10ft ceilings, and is approx 13 ft long! WOW! What a fun opportunity to create a dedicated and decorated entryway, something we haven’t had before!
In addition to creating a lighter, and brighter space, we also have some exciting plans for a DIY console, and some great decor. But before we could get to that, we knew we needed to add some interest to the space, as well as some paint! In our last home, we added board and batten (BB) to our boy’s room and loved it, so I knew we wanted to incorporate it into our new house and felt like this would be the perfect opportunity!
First things, first…
Before we started with the trim work, we added a fresh coat of paint to our walls. This alone was a huge transformation and brightened up the space instantly. Painting the entire wall before adding the trim was also a time saver!
For the white paint color, we ended up using Benjamin Moore Timid White in an eggshell finish.
Materials
- 1 sheet of 2ft x 8ft Quarter Inch MDF
- Nail Gun and Compressor
- 1 1/2 18 Gage Brad Nails
- Level
- Construction Adhesive ( like “Liquid Nails”)
- Spackle ( to fill the nail holes)
- Caulk (to fill the seams)
- Paint and Paintbrush
Our goal for this board and batten trim project was to make it as simple as possible!
We’ve added board and batten to walls before, replacing both the bottom and top trim and it’s looked fantastic, but for this project we wanted to keep all of our existing trim, and seamlessly add BB to it. The trick to doing it the easy way, is matching your new trim thickness to your existing trim thickness. In our case a quarter inch was a seamless option!
There’s a couple of other reasons why using MDF is a great choice. First, it’s super affordable, like under $10 for a sheet! And second, because you’re cutting it “to size” you can completely customize the look you’re going for.
If you are looking for a material that requires less “cuts” ( when using MDF you will need to rip your own “strips” from the sheets) you can purchase lattice strips from your local home improvement store. This can add up $$ faster than cutting your own strips out of MDF, but if you’re looking for a less labor intensive material, this is a great option.
Let’s take a peek at our foyer before…

Getting Started…
The first thing you will want to do is figure out what height and width you will need to cut your MDF to, and how much of it!
We decided to go with a 3/4 board and batten wall. We did a lot of measuring and mock up’s with painters tape to decide what height, width, and spacing we wanted to go with for the trim.
Step one // marking out your walls
Mark out (with pencil and with the help of a level) on your walls where you’d like your horizontal and vertical boards to go. This will help you determine your cuts once it’s time to rip your MDF and to what size. These marks will also speed up the installation process!
We went with…
- 3″ wide horizontal trim pieces
- 1 3/4″ width for the vertical pieces ( these were cut 6′ long to fit perfectly between the bottom of the horizontal piece and the top of our existing bottom trim)
- Vertical board placement every 18′ on the wall
Step two // cut your trim pieces
Rip your MDF sheets down to the sizes you have decided on.
Once you have your MDF cut to the sizes you would like..
Step three // prime your trim
Once you have your MDF cut to the sizes you would like, the next step is to use an oil based primer and prime your MDF strips before you install the. You will want to avoid using a water based primer because there’s a chance it would make your MDF “bubble.”
When your MDF is dry, you’re ready for installation!

Step four // install your horizontal boards
Before nailing your trim pieces in, we added a small amount of Liquid Nails to the backside of each piece just to ensure that there would be no “bowing.”
Next, with the help of your level, and maybe an extra set of hands, line your horizontal trim piece up with the horizontal line you already have marked on our wall. After ensuring your board in level, nail it in on both sides and in the middle. Repeat this process, and make cuts to your horizontal board as needed until you have completed this step of the process.

Step five // install your vertical boards
The next steps is to essentially repeat the same process as you did with your horizontal boards, now with your vertical boards. Installation of the boards themselves moves quite quickly! We did our entire installation in under an hour. The prep work itself, is the more time consuming part of the process.


step six // fill your nail holes
The next step is to go back through and fill all of your nail holes with spackle. Once they’re dry, lightly sand the top of them for any excess.
step seven // Caulk your seams
Next, you will want to caulk all of the seems where your new trim meets your wall, and existing trim. This gives the trim work a finished look! This step can always be a little messy, having a damp paper towel and a cup of water helps to get those smooth lines you’re looking for.
step eight // paint your trim
Last but not least, once your caulk has dried ( usually the next day just to be safe) you can go back through with your paint and a paint brush and paint your trim! This should be fairly quick and painless as your wall is already the desired color. This might take 2 coats, depending on the color your using.
You can also choose to use a glossier finish for your trim work, from the horizontal piece, down to create even more interest ( including the vertical boards as well as the wall.) Again, we were making this project as easy as possible, so we just used the same eggshell finish we had already used to paint the walls!
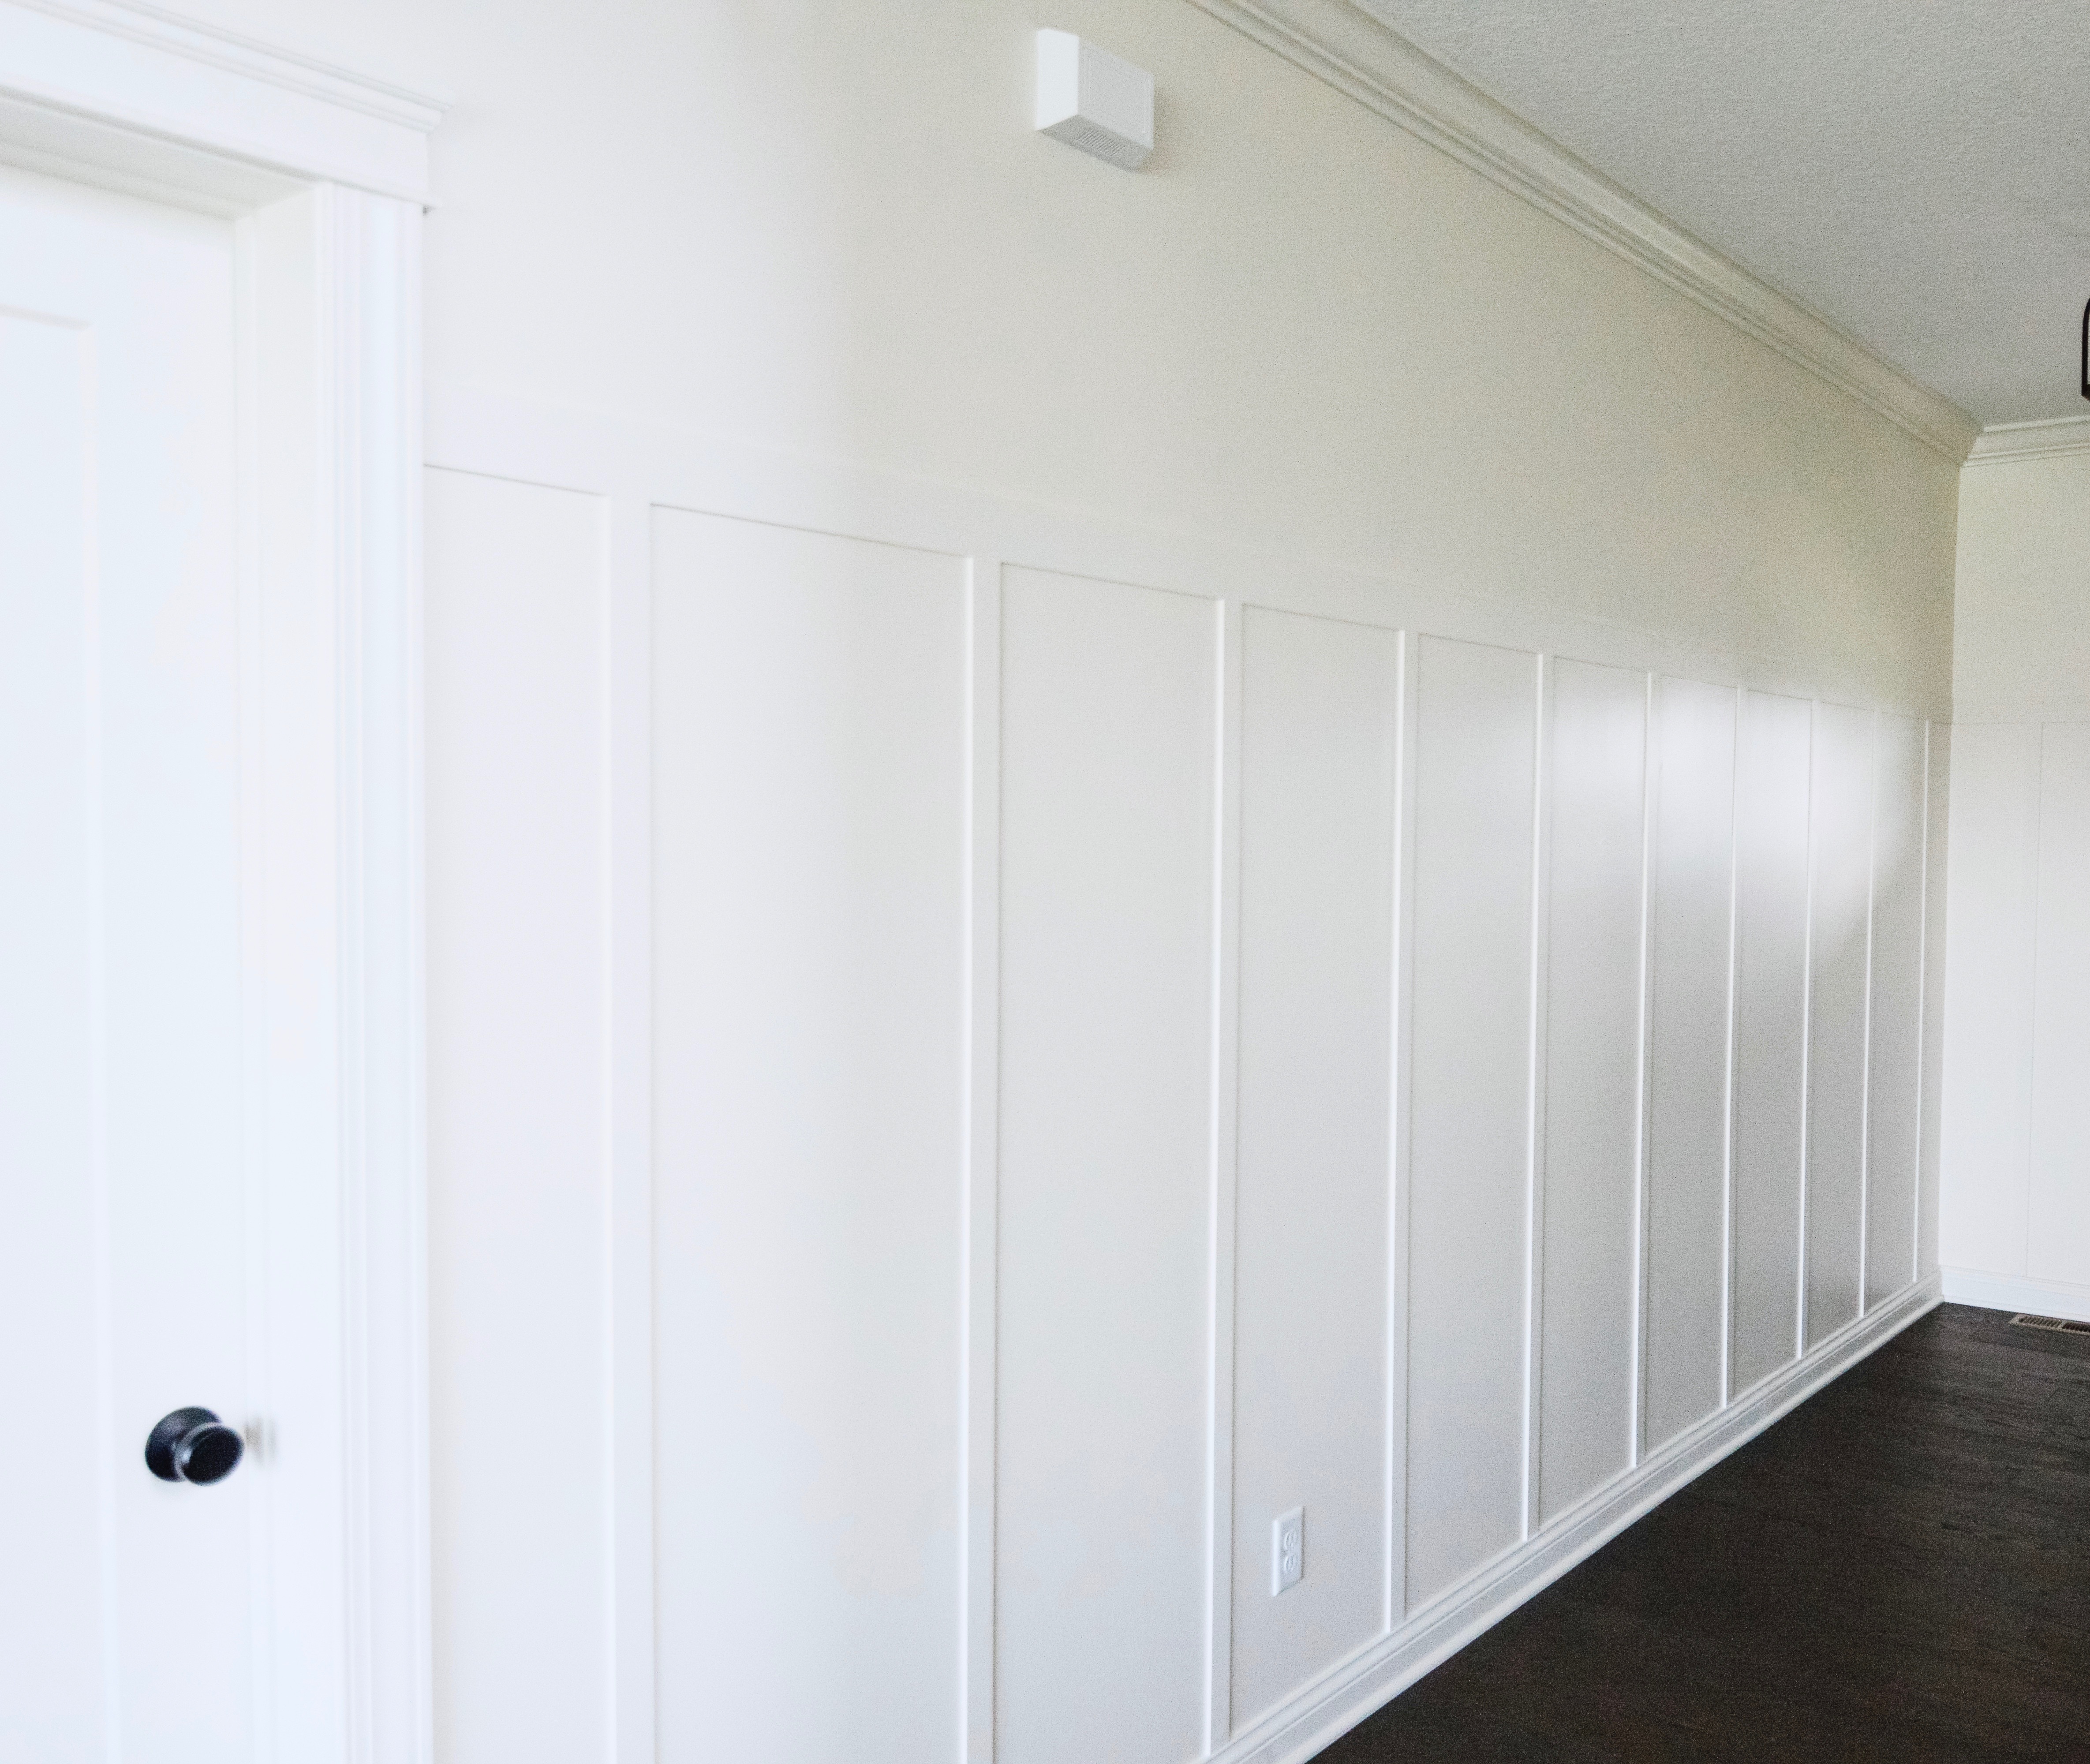
And then you’re done, tah-dah!


I just love how it turned out! Now stay tuned to see how we finish off the trim work on the adjoining walls, as well as how we decorate and style the space!